In this tutorial I will show you how to make pesto.
There are a lot of tutorials about it on the internet, but they are often very complicated, inefficient and specific.
That is why I thought I share my method of making a general pesto, which means the recipe will work for almost all kinds of pesto types, so you have one recipe for everything, it is also probably the most efficient and fastest way to make pesto in general.
What you need:
Ingredients:
1. Material for your Pesto, in this example I use bear's garlic, but you can use any type of green leafy vegetable or even almost any kind of other vegetables like tomatos, bell pepper, mushrooms or whatever. In this example I use freshly picked bear's garlic, but you can use dried greens or vegetables as well, in the case of making tomato pesto for example it is recommend to use dried tomatos, because of the high water content.
2. Salt, makes it taste better and helps preserving the final product, in this case I use rough sea salt, which I had to grind a bit with the mortar, that is why it is in that pot. Natural sea or stone salt is the best, don't use chemical salt.
3. Vegetable oil, in this case I use normal olive oil, you can use any type, but olive oil is a good option, because it is healthy and tastes good.
Tools:
1. A Blender
2. Some containers to store the final product in like glas jars or similar.
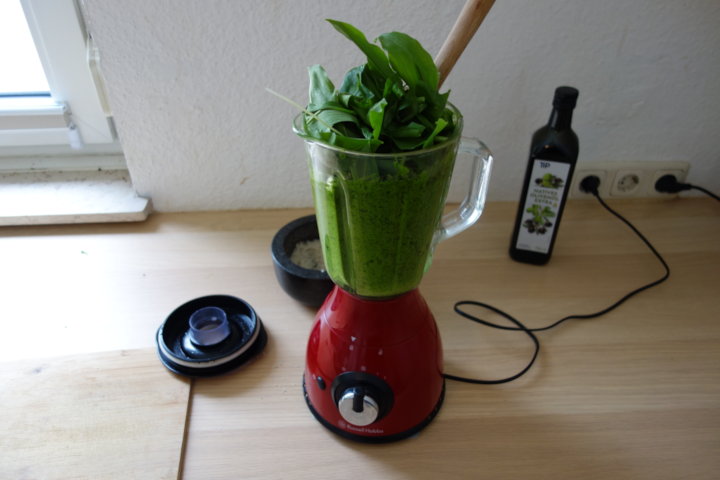
In the first image you can see the ingredients, you may notice that I have a big pile of greens, because I make a larger portion at once, it does not make sense to only produce small portions, since you can gather the ingredients often for free and because the pesto is so tasty that you will eat it up quickly anyway. The large portion size is also important to make the blender method work properly, because the blender needs enough material and liquid to blend the stuff properly. If you don't have a blender, you can cut the greens into very small pieces, or use dried greens and crumble them into small pieces, or use a mortar to grind them into a paste, but a blender is master race regarding speed and efficiency. Some other people may tell you to wash and cut the greens, before processing them, but to me that is kind of pointless, since the blender will grind it down anyway, the other eventual foreign matter will like other plants, insects etc will also be ground down and no longer visible. Bacteria and insects will also help boost your imune system and give you additional nutrients. In case the stuff you gathered is dirty then you obviously should wash it before, but it is easier to make sure to just collect clean material to being with, it not only saves you time washing it, but also the drying process necessary later, because in pesto you usually want little water content. Most importantly make sure you know exactly what plants you are picking so you don't use poisonous plants, in the case of using bear's garlic like I used, there are some plants that look similar and are very poisonous, so be extra cautious there when gathering the materials.

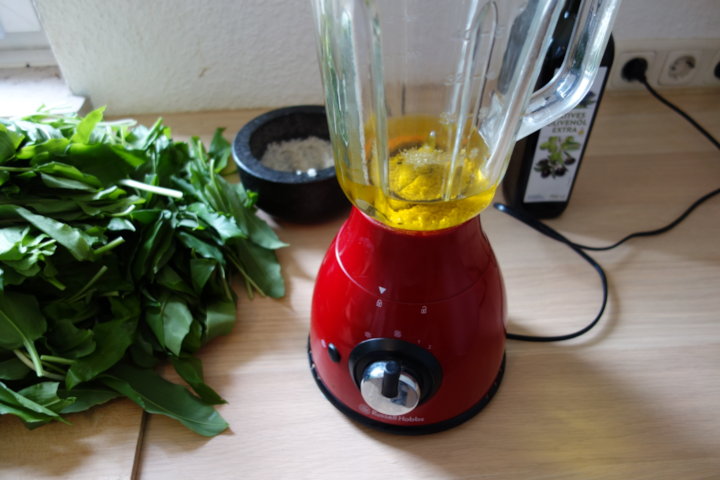
The second image shows you the first step, where I poured a good portion of olive oil into the blender until the blades of the blender are covered, this is because the blender needs liquid to blend the stuff properly. There may be super expensive high power blenders that may be able to blend without liquid, but I don't have one of those, I have an ordinary cheap blender, so I go with the liquid and you need oil inside the pesto anyway. Into the oil I put a good bunch of salt, so the olive oil will mix with the salt and distribute it evenly through all the greens. The amount of salt depends on taste, I like relative high doses. Don't worry about how much oil and salt to use, you can always pour in more later, but you need some to get you started.
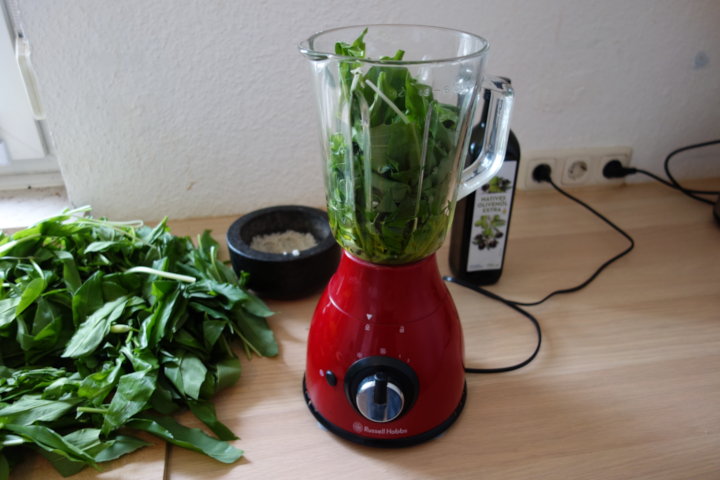
Third image is where I stuffed in the first portion of greens.
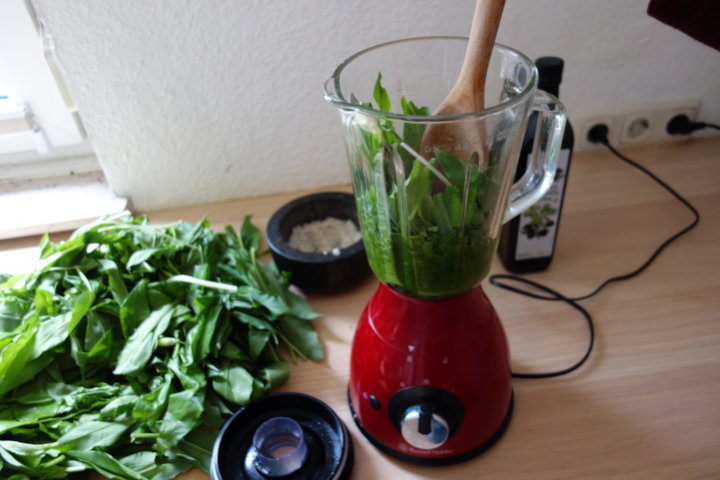
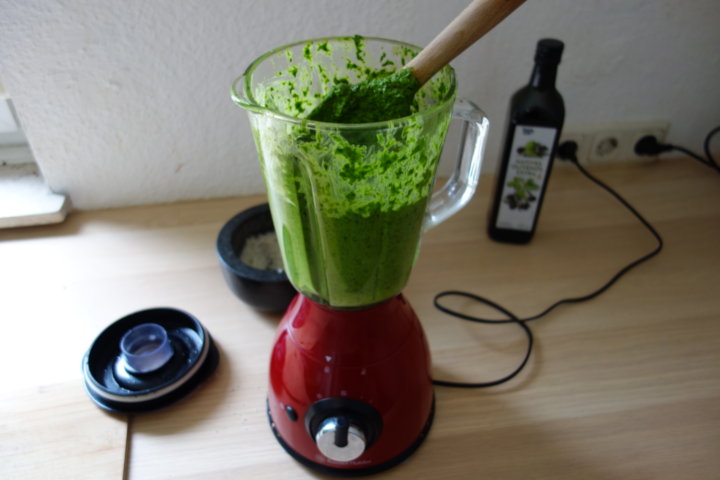
Fourth image shows the start of the blending process, I use a wooden spoon to stuff the material down into the blender blades while I'm blending. It is probably a bit stupid and dangerous to blend with the blender open and stuffing the things down there, so if you want to do it safely only stuff when the blender is off and blend with the blender closed. Good blenders also usually have an opening and a stuffer that is designed to not hit the blades on the bottom, so you can open the small piece and use the stuffer to stuff things down while blending. However I may have that opening, but not a proper stuffer, so I use a wooden spoon.
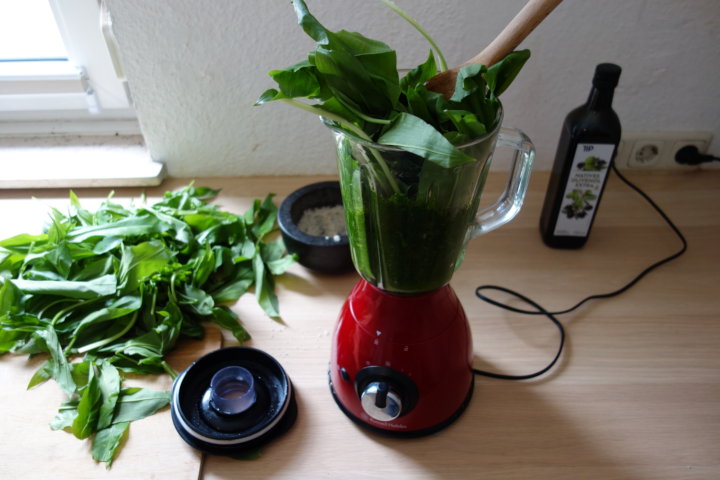
Fifth image shows the greens starting to blend and I keep stuffing more greens into from the top, it may look that all the greens will not fit into the blender, but they get reduced in size greatly through blending, just keep stuffing. Add more oil if it has a hard time blending.
Sixth image shows that all the greens fitted into the blender, just keep stuffing and blending.
Seventh image shows all greens are completely blended now and there is even room for more in theory, at this stage I added some more oil, because it was too much greens for my taste and too little oil, more oil also helps in the preservation process.
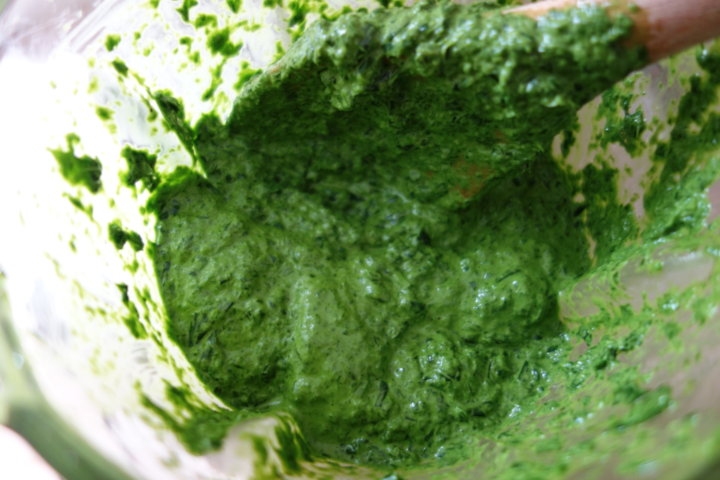
Eights image shows a closeup of the blended pesto, how much you blend the pesto depends on your taste, so you can leave it rough or blend it until it is very fine.
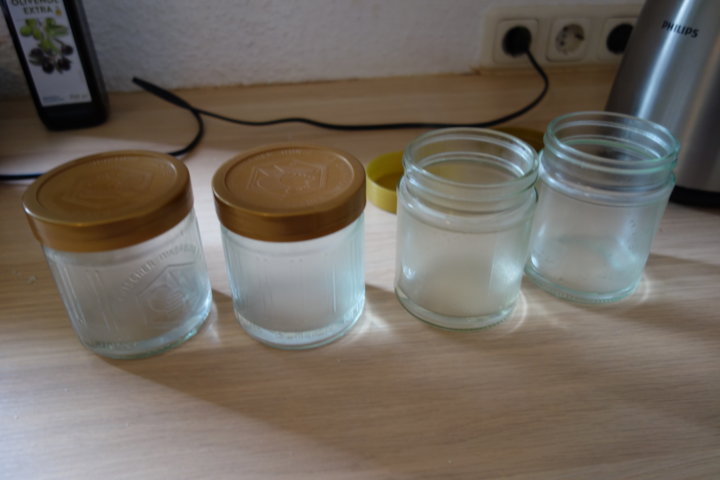
Ninth image shows some glas containers I had left over, they are from honey glasses, so not ideal, but I did not have anything else.
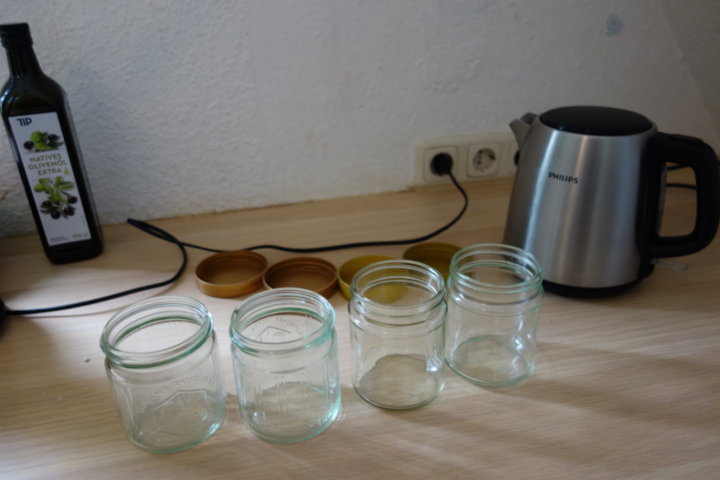
Tenth image shows that I washed out the glasses a bit with hot water to clean and sterilize the glasses. I poured some hot water into them, closed them, shaked them a bit and then poured the water out. If you want to properly preserve the pesto for a longer time I suggest to use proper preservation jars and sterilize them properly by for example cooking them completely in water for a few minutes, but in this case I just use what I got, it is a small portion and the pesto will not last long anyway, so my solution may be good enough for the job.
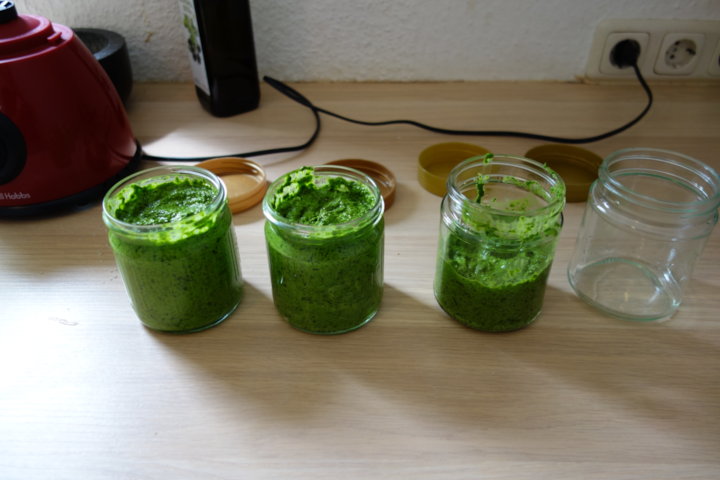
Eleventh image is where I poured in all the pesto into the glasses, I used a spoon, since the pesto is very thick and hardly flows. I also stuffed the stuff down a bit to remove air pockets inside the glass. You want to reduce exposure to air since this is what makes it go bad later, but I did not take it that seriously here, because I will use up the pesto in the next few weeks.
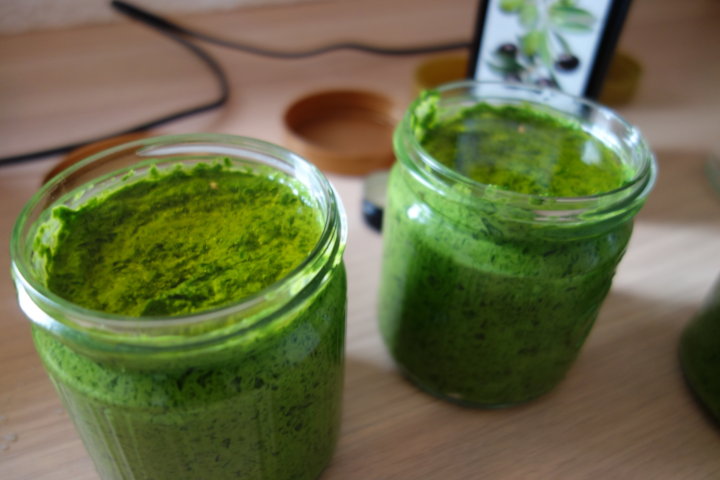
Twelfth image shows that I added some more pure olive oil onto the top, this helps preverving the pesto, because it stops the pesto from being exposed to the air.
Little tip: When you used some of the pesto and want to store it again, you can add more oil on top until it is covered.
Thirteenth image shows where it is all done and closed. Now your pesto is ready for storage or eating.
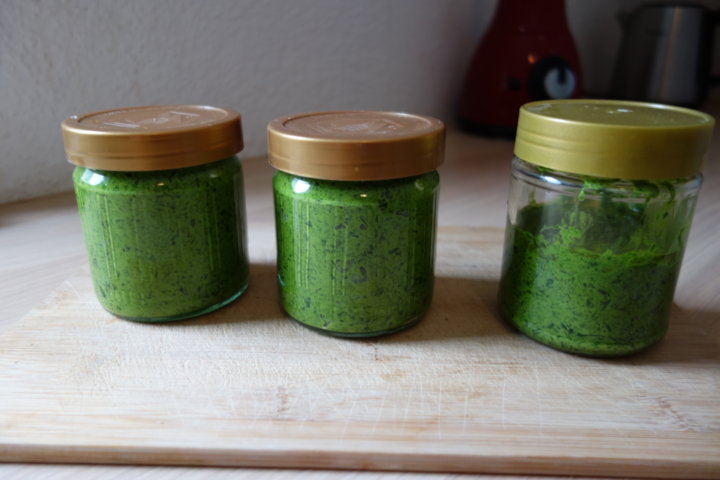
So that is how it is done, easy, simple, fast, efficient, cheap.
This is just the basic recipe, other people usually add other things like nuts, cheese, seeds, spices or whatever into the pesto, but I prefer it pure, since you can add other ingredients later as well or add them separately into the food, that is why it does not make much sense to me to go crazy on the ingredients put into pesto.
The basic version already tastes good enough, but you can experiment with adding other ingredients as well. I'm not a fan of specific recipes where people tell you how many grams of what ingredient you have to add and all those complicated steps, that is why my tutorial. Just blend it all in a blender with some oil and salt. Know the basics, use your brain and common sense and you can do it all on your own without needing any more instructions.